

One of the most versatile food item is bread… It can be breakfast, lunch, snack or dinner oh and even dessert plus during Ramadan you can create some real quick sehri and iftari items with bread slices! People look for a good gluten free roti recipe when they require gluten restricted diet in my country but when my daughter was diagnosed with celiac disease, my prime focus was bread. I couldn’t imagine breakfast without a toasted slice of bread and school lunch was another horror story. What would I possibly pack as school lunch when there weren’t any soft sandwich bread? This bread obsession led to a series of experiments with gluten free bread and I proudly admit that many of them were actually disastrous but on the other hand, I learned a lot and kept looking for different flours and proportions.
I have shared many gluten free bread recipes on the blog and I have mentioned on each post the source they came from with adjustments that have worked for me. Working with recipes that have shown good results saves a lot of time, energy and resources which is something we all appreciate. Why on earth would we encourage wasting food items? And we all know gluten free flours aren’t cheap so it is much better, in my opinion, to learn from people around us and acknowledge and appreciate their efforts in creating and sharing a recipe that gluten free community needs. Sadly, I don’t know where this recipe came from. All I have is a very old cell phone screen shot of a random note that I stumbled upon while going through phone gallery. So my sincere apologies for not remembering the actual source. I have made some changes to it like the note says Gluten Free Flour and I used Asmr’s gluten free bread flour along with xanthan gum.

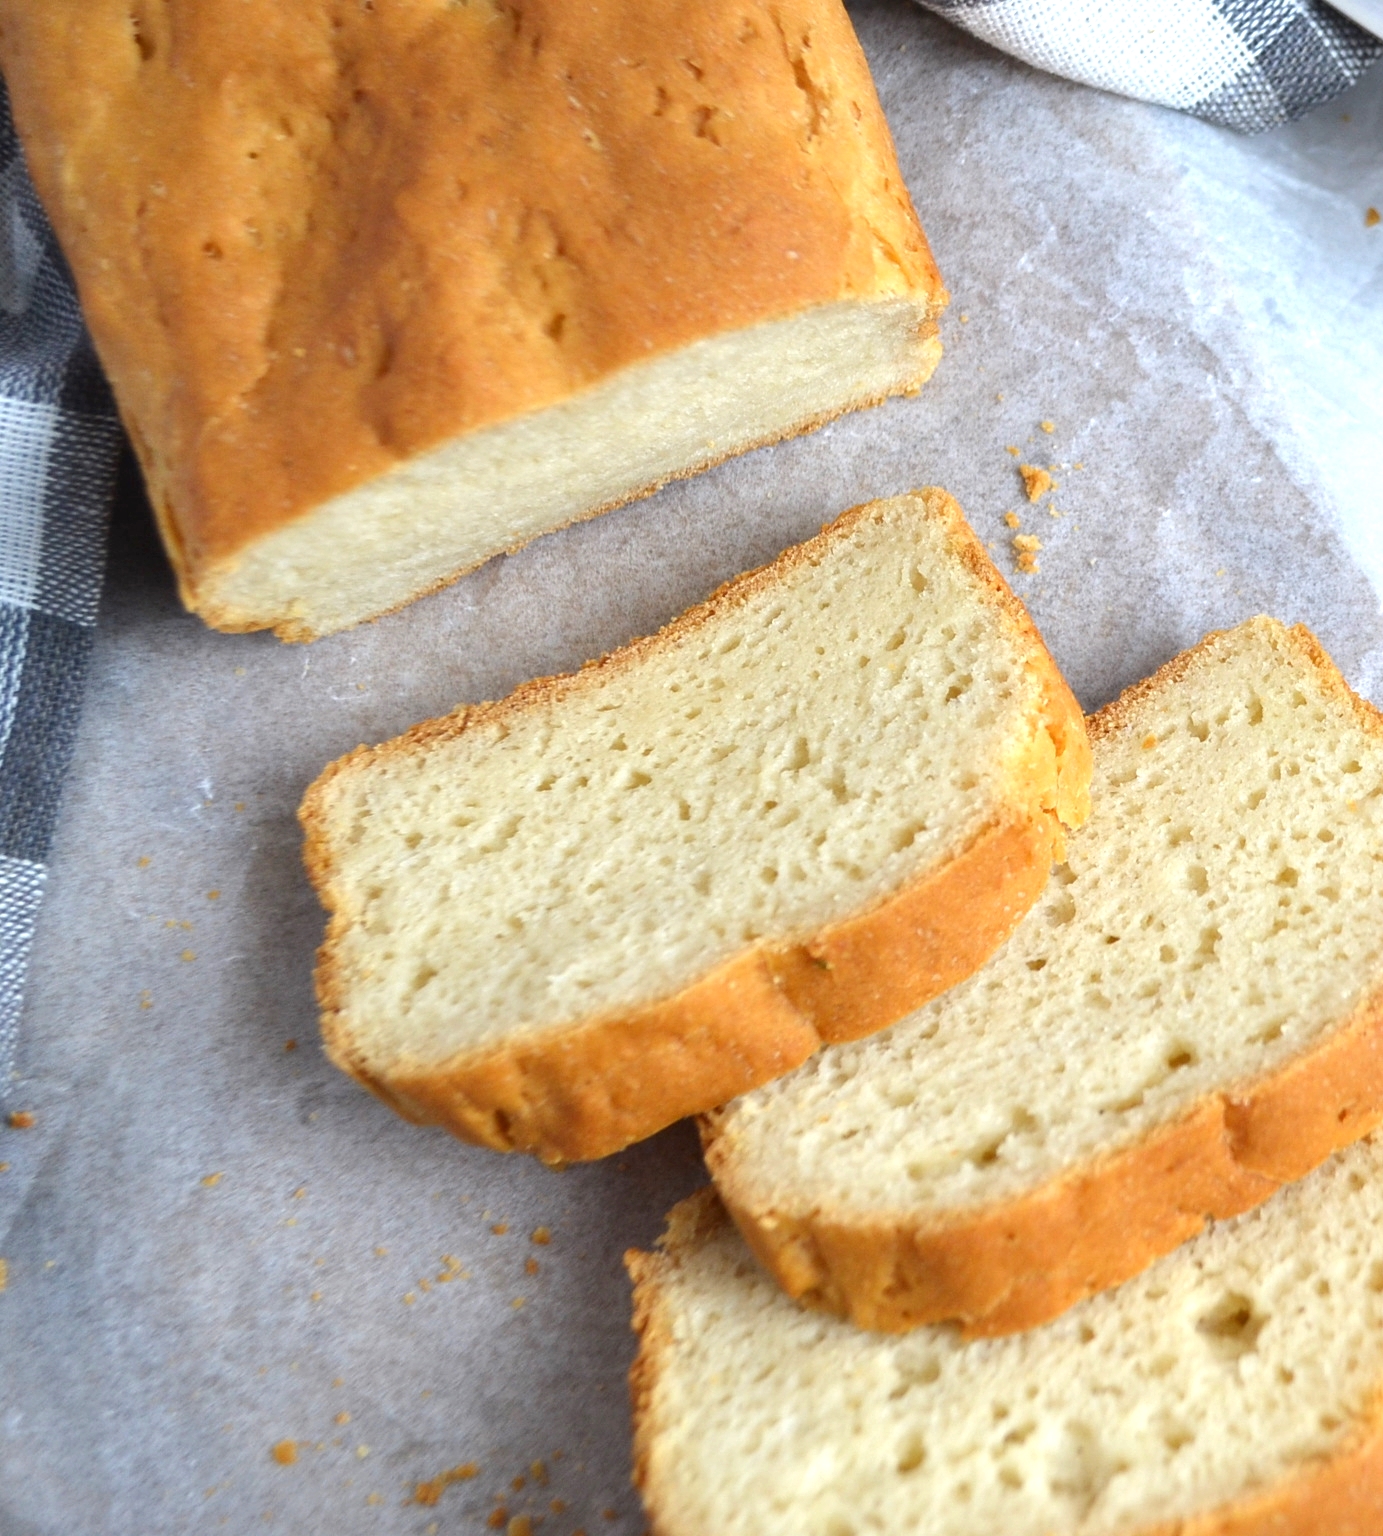
This is by far the easiest gluten free bread I have baked. It has simplest and most basic ingredients measured by volume and not by weight. There is gluten free bread flour, xanthan gum, instant yeast, sugar, salt, egg, oil, apple cider vinegar and water. Another reason to love the recipe is that there is no proofing yeast separately… Everything goes into food processor and get mixed up for a couple of minutes and then goes directly to the loaf pan. That sure saves this poor soul from doing a load of dishes. Yay! Leave the dough to proof for about thirty minutes and then bake. I have switched to a electric oven which takes about thirty minutes to preheat to a “bread baking appropriate” temperature so when I transfer the dough to the pan, I turn the oven on to preheat and by the time oven is ready to welcome the bread, the dough is all set to take the heat. Bake for about forty to forty five minutes and once out of the oven, brush the top with some butter. Done.

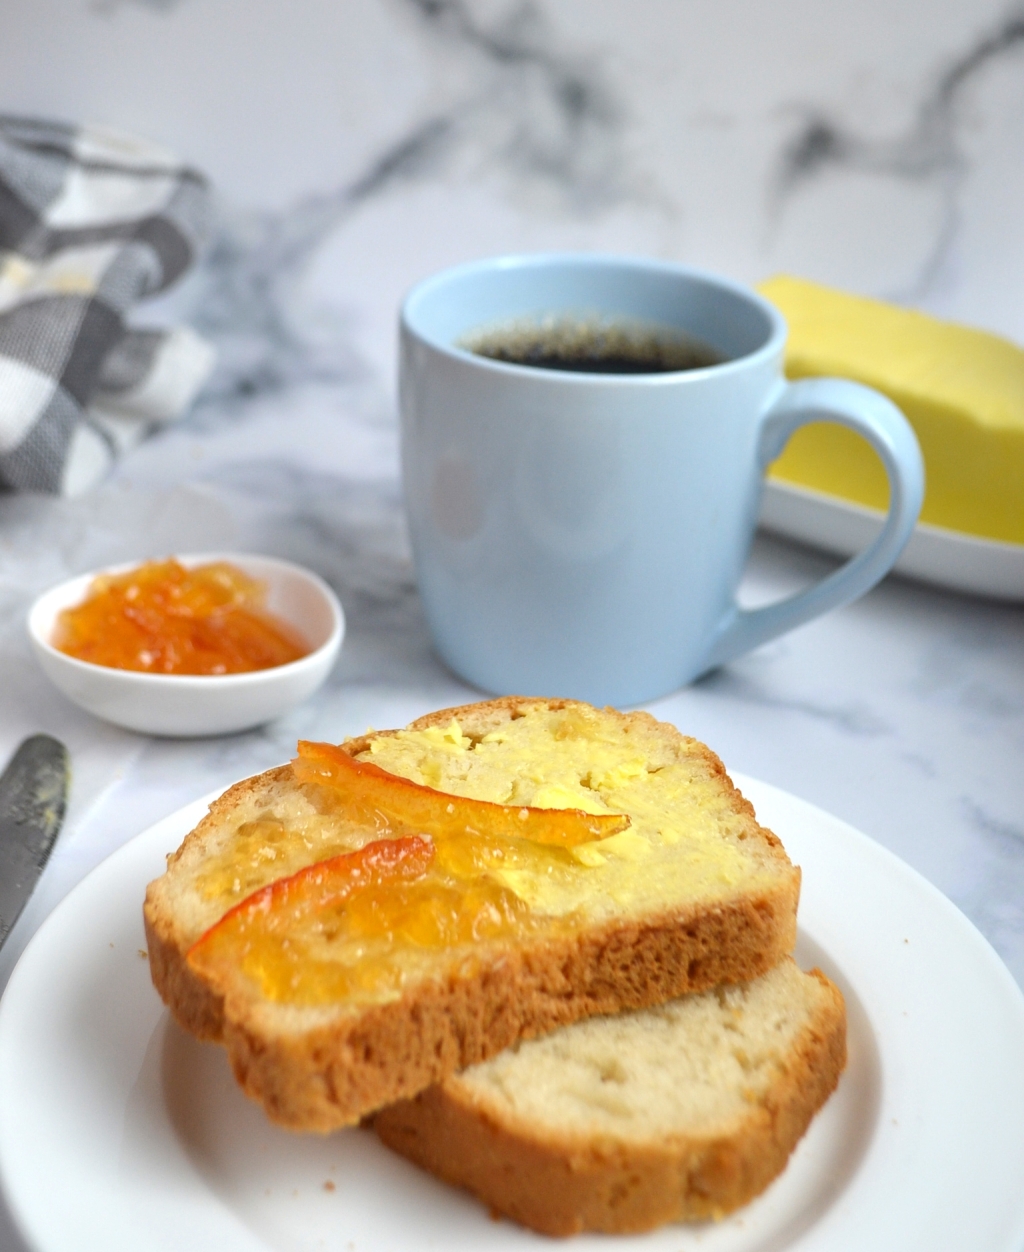
How easy is this! And how gorgeous is this! The list of good things doesn’t just end here my friend so brace yourself. This bread is oh-so soft with pillow-y texture and it is very delicious. So far I have good results with Asmr’s gluten free flours and my family likes the taste but feel free to use the gluten free bread flour you like and comfortable working with. Toast it, grill it, make sandwiches in sandwich maker or panini press or enjoy as is with a generous spread of butter.. This bread will stand tall to all the challenges.
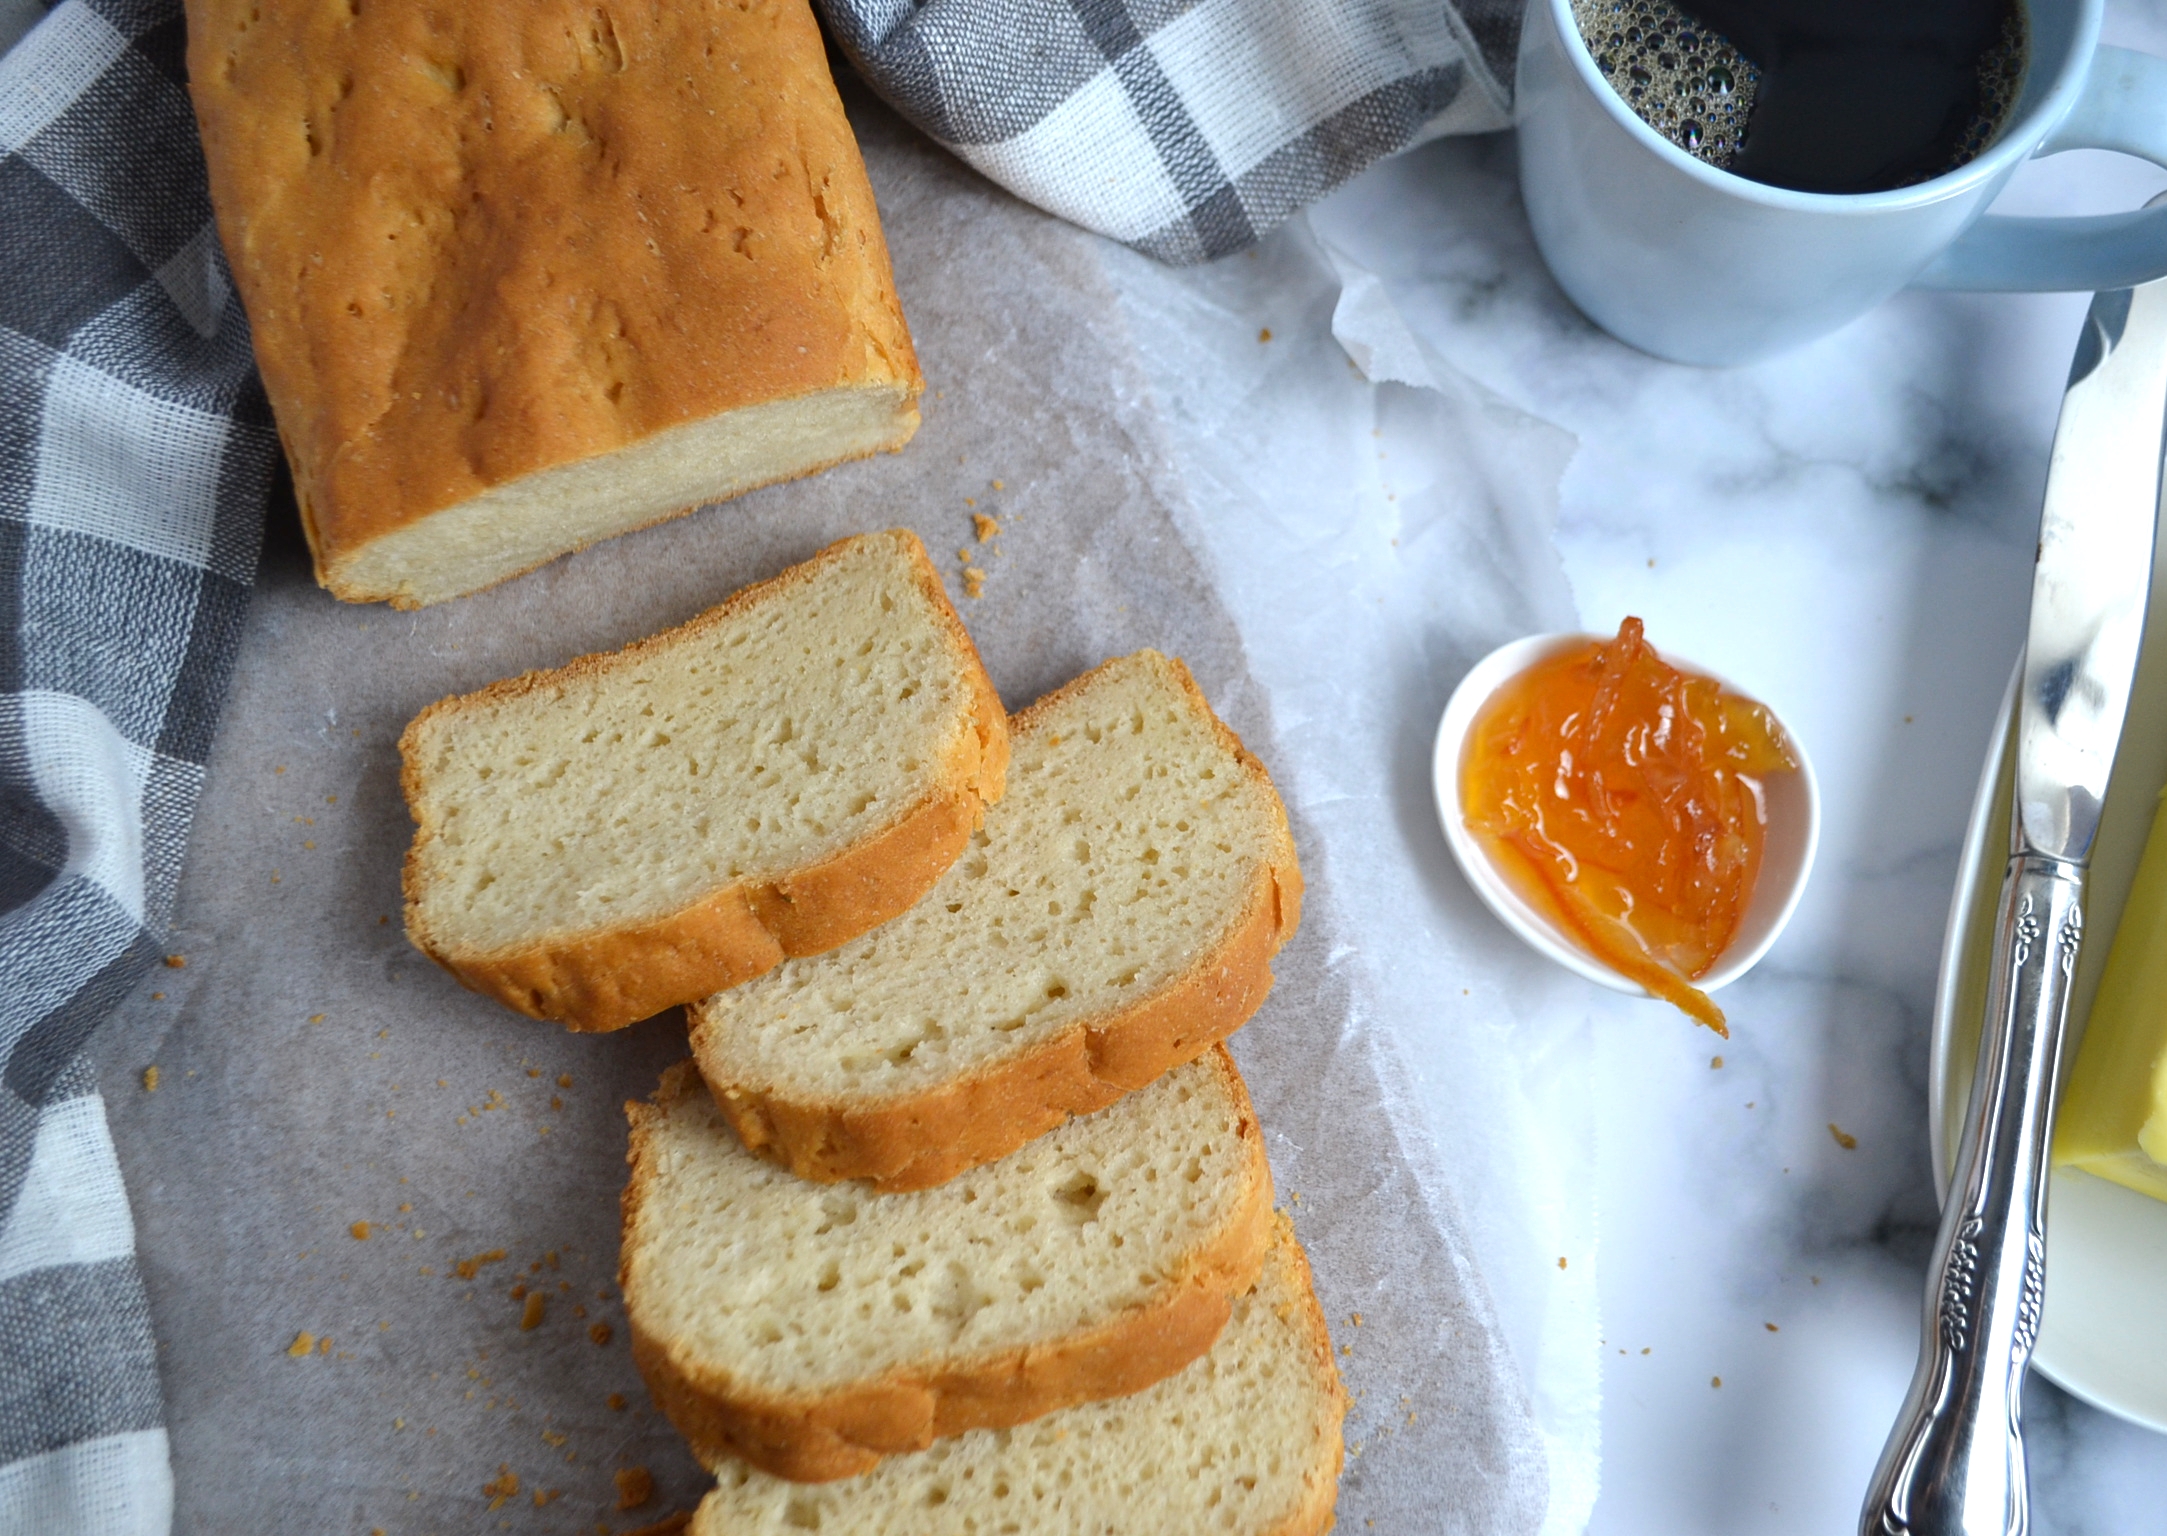
A few things that I always mention for a bread post. Number one is to take the baked bread out of the pan when it is out of the oven. Some recipes may suggest to let bread rest in the pan for a while but I prefer taking them out because I feel like the bread gets slightly soggy with all the steam from baking being trapped at the bottom. This is one reason I prefer adding oil rather than butter to the dough because butter makes the freshly baked bread very fragile and it becomes tricky to take it out of the pan. Point number two is to be a little patient and let the bread get cool completely at the room temperature before slicing it. Point number three is not to compare a gluten free bread with a regular wheat bread. They have different compositions and can not be exactly like each other in terms of taste, texture and appearance. Point number four is not to leave this bread on the kitchen counter for more than 36 hours. Refrigerate and slice as needed and if you need to freeze gluten free bread, slice it and then wrap each slice individually in kitchen wrap and then freeze.

Easy One Bowl Gluten Free White Sandwich Bread
A straight forward bread recipe that requires only basic ingredients to create a delicious, moist and soft gluten free loaf of bread. This bread will work with any type of filling and toasts and grills well too.
Course Appetizer, Breakfast, Side Dish, Snack
Cuisine American
Keyword easy gluten free bread, Gluten free sandwich bread, gluten free white bread, one bowl gluten free bread
Prep Time 10 minutes
Cook Time 45 minutes
Servings 1 8 inch loaf
Ingredients
- 2 cups gluten free bread flour ( I used Asmr’s gluten free bread flour)
- 1 tsp xanthan gum
- 2 tsp instant yeast
- 5 tsp caster sugar
- 1 whole egg
- 3 tbsp cooking oil
- 2 tbsp unsalted butter, softened
- 3 tbsp milk
- 1 tsp salt
- 1 tsp apple cider vinegar
- 3/4 – 1 cup warm water
- melted butter to brush the top of the baked bread
Instructions
- In a food processor combine gluten free bread flour, xanthan gum, sugar, instant yeast, eggs, oil, apple cider vinegar and salt.
- Run the machine and gradually pour the water while running the machine till everything is well combined and soft dough is formed, about 2 minutes.
- Leave the dough in the machine and lightly brush a 8×4 loaf pan, about 3 inch in height, with oil and line it with parchment paper.
- Transfer the dough to the prepare pan and gently level the top with wet fingers.
- Let the dough proof for about thirty minutes.
- Preheat the oven at 185 C/ 365 F
- Bake for 40-45 minutes.
- Remove from the oven once baked and brush the top of the bread with melted butter.
- Remove the bread from the pan and let cool on a wire rack completely before slicing.
Recipe Notes
You can also make the dough with electric mixer or mix ingredients with hand using a whisk. Hand mixing would require a little more time and some effort.

Leave a comment